
Upload and open your data
Upload the scan and reference files to the correct project. Then check which scene is open.
Upload into a new project
- Open the project in Cloud and select Open in CADground.
- In the start screen, select Choose files or drag files into the upload area.
- Select the main point cloud or model and any supporting documents. Use unique filenames.
- Select Start with these files. Keep the tab open while uploads are in progress.
- Wait for the upload and any conversion to finish. If a file fails, read its name and error message. Files that uploaded successfully stay in the project. Retry only the failed files.
- Use Scene source to select the intended 3D source. Use View → Fit scene to bring it into view.
Expected result: the file is in the project and the selected 3D scene is visible. A PDF or image stays in Files as a reference. It does not become a 3D scene.
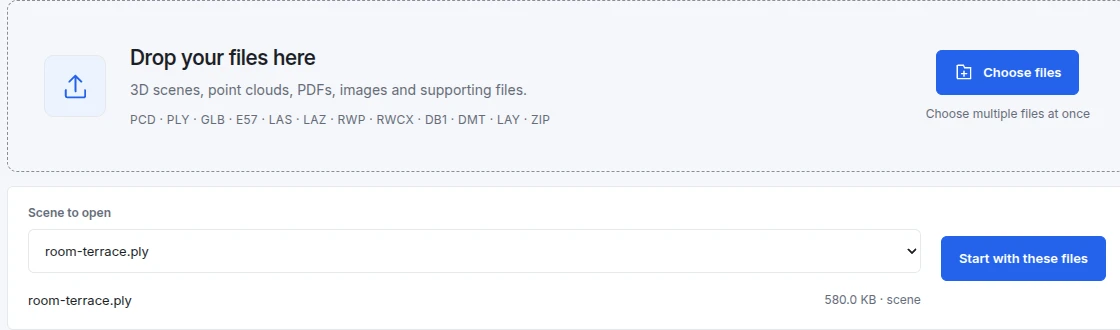
The illustrated room-and-terrace file is synthetic demonstration data, not a customer survey.
- Choose files. Select your point cloud or supported model. You can include reference files in the same upload.
- Scene to open. Confirm the intended 3D source. A PDF or image is a reference, not the source point cloud.
- Start with these files. Begin uploading and processing. Keep the tab open until the scene loads, then check its units and orientation.
Add data to an existing project
Open Files on the left to manage project files. Use its upload control for references or additional project data. To open another source scene, use File → Open / convert…. To add a supported 3D model as geometry in the current scene, use File → Import 3D Model….
Opening a scan changes the source scene. Importing a model adds geometry to the current scene. Check Scene source before asking the agent to work.
Attach plans, images, or dimensions
- Open Chat in the intended scene.
- Select Attach file, then choose your reference. The attachment is saved in the project.
- Wait for the attachment to finish uploading. Remove or retry any failed attachment before sending.
- Explain what the file represents and which part matters. For a multipage PDF, give the page number and drawing revision.
- State whether the drawing dimensions are the required reference, estimates, or only a visual guide.
Use the attached roof plan, revision B, page 2, as the planned layout. The scan shows the existing site. Check scale and alignment before comparing equipment positions. Establish how the drawing’s north arrow relates to the scene axes.
A Chat message can have up to ten attachments. Each image can be up to 20 MB. Other allowed file types use the project upload limit. The editor shows an error if it cannot attach a file.
Check the upload before starting work
- Identity: correct project, scene, level, and capture date.
- Extent: no obvious missing wing, floor, or equipment area.
- Scale: a known distance matches the source units.
- Orientation: up, scene axes, and north are understood separately.
- Representation: points, mesh, or CAD is what you intended to import.
If the file will not open
| What you see | What to do |
|---|---|
| Unsupported file or plan restriction | Check the format table. Export a supported format from the original application. Renaming the file extension does not convert it. |
| Duplicate filename | Use a distinct name for the new revision. Keep the old file until you confirm which version is in use. |
| Upload interrupted | Keep the connection open. Check which files were saved, then retry the failed file. After upload, also check that conversion completed. |
| Only a PDF or image appears | Upload the actual 3D point cloud or model. The reference itself cannot provide complete 3D geometry. |
| Scene appears blank | Select the right source, enable Points or Mesh, clear any focus, and choose Fit scene. Then inspect the processing error if nothing appears. |
| Scene looks transparent or less solid | You may be viewing separate points instead of a mesh with textures. Check which type of data is displayed before assuming that points are missing. |
For persistent failures, see Troubleshooting.