
Point cloud to floor plan.Get the layout from your scan.
Ask your AI agent to trace the walls and openings, check room dimensions, and prepare a floor-plan draft. Review the linework against the scan before using it for renovation, measured drawings or a diagram base.
Start free · Already have an account? Sign in
“Draw this floor in plan. Include walls, door openings and the corridor dimensions.”
Example request to your agent
- Source
- Point cloud + a known dimension
- Task
- Section, trace and check
- Result
- Floor-plan draft + source views
Walls and openings you can check against the scan.
Need a base plan for a refurbishment, a measured survey or an evacuation diagram? Define the floor and drawing content, then ask the agent to turn the visible layout into a reviewable draft.
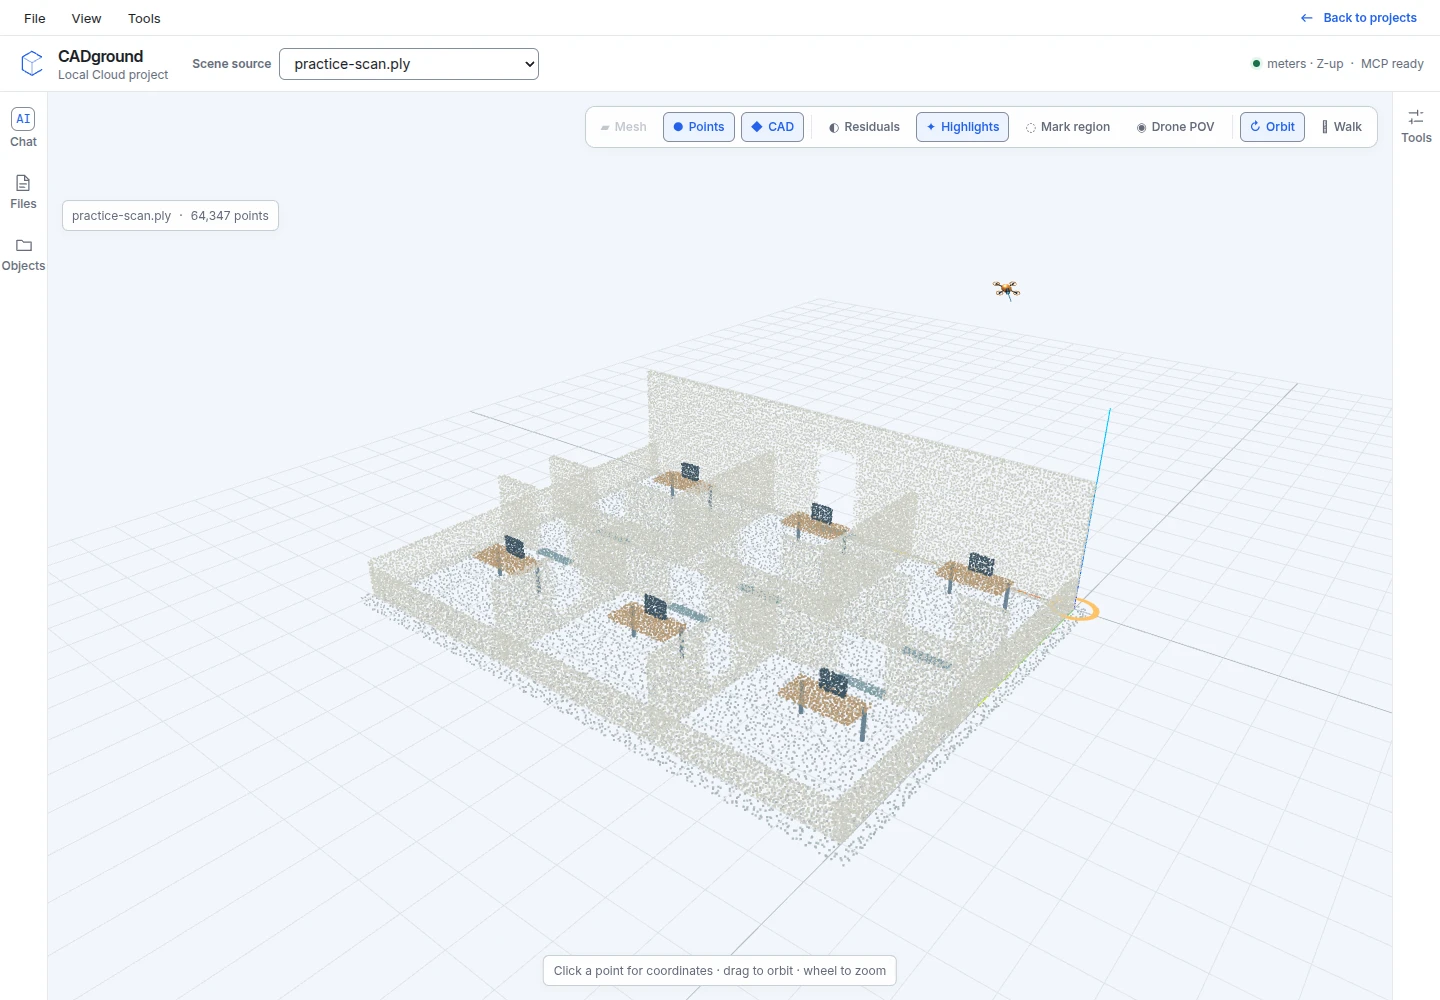
Six rooms. One connected corridor.
Use the office scan to practise a connected floor layout. The nominal building footprint is 12 × 9 m, and the clear corridor width is 1.44 m. The reference plan keeps the two missing wall patches visible as open questions.
- Keep door openings separate from solid walls.
- Label the dimensions and units you have checked.
- Keep missing evidence visible in the drawing notes.
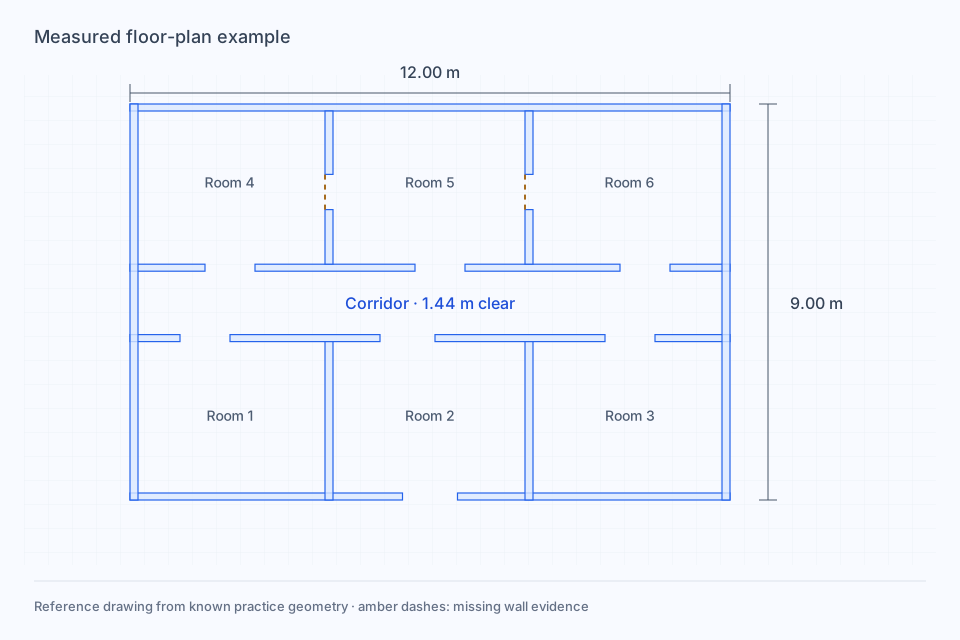
Original synthetic practice data, not a customer survey. Reference dimensions describe the constructed scene. Download the PLY, create an account, and choose it when creating a project. Upload instructions.
From your scan to a reviewed result
-
Upload and set the floor
Load the scan and confirm the units. Identify the floor, its orientation and the height of the plan section. Use a known physical dimension to check scale.
-
Ask for the drawing content
Name the walls, openings, rooms and dimensions you need. Upload an existing drawing, template, or example PDF through Files. Ask the agent to follow its page layout, naming, line, and label conventions when preparing the floor plan from your 3D scan.
-
Compare the plan with the source
Check wall ends, connected rooms and opening widths. Inspect unclear areas in 3D. Mark missing evidence instead of making the plan look complete by guessing.
-
Prepare the drawing file
Ask the agent for a labelled SVG or PDF draft, with units and checked dimensions. Review the generated file from Files. Keep any final CAD drafting, template work and approval steps in your normal workflow.
Try this request in Chat
Prepare a top-down floor-plan draft of this office in metres. Show wall faces, door openings and room labels. Add the overall footprint dimensions and the clear corridor width. Mark missing source evidence with dashed lines and a note. Produce an SVG drawing and a PDF for review.
Adapt the objects, dimensions and output to your project. Read the floor-plan walkthrough →
A drawing with enough context to use.
A floor plan should explain what it shows and where the dimensions came from. Keep a clear link between the draft and the source you checked.
- Layout and labels
- Show connected spaces, openings and the wall representation you requested. Use your project’s room names or mark provisional labels clearly.
- Dimensions and scale
- Identify units and measurement endpoints. If printing to scale, verify the PDF page size and print settings against a known dimension.
- Review notes
- Record the source file, floor, section height, orientation and unresolved areas. An evacuation diagram can use the reviewed plan as a base for its separate safety information.
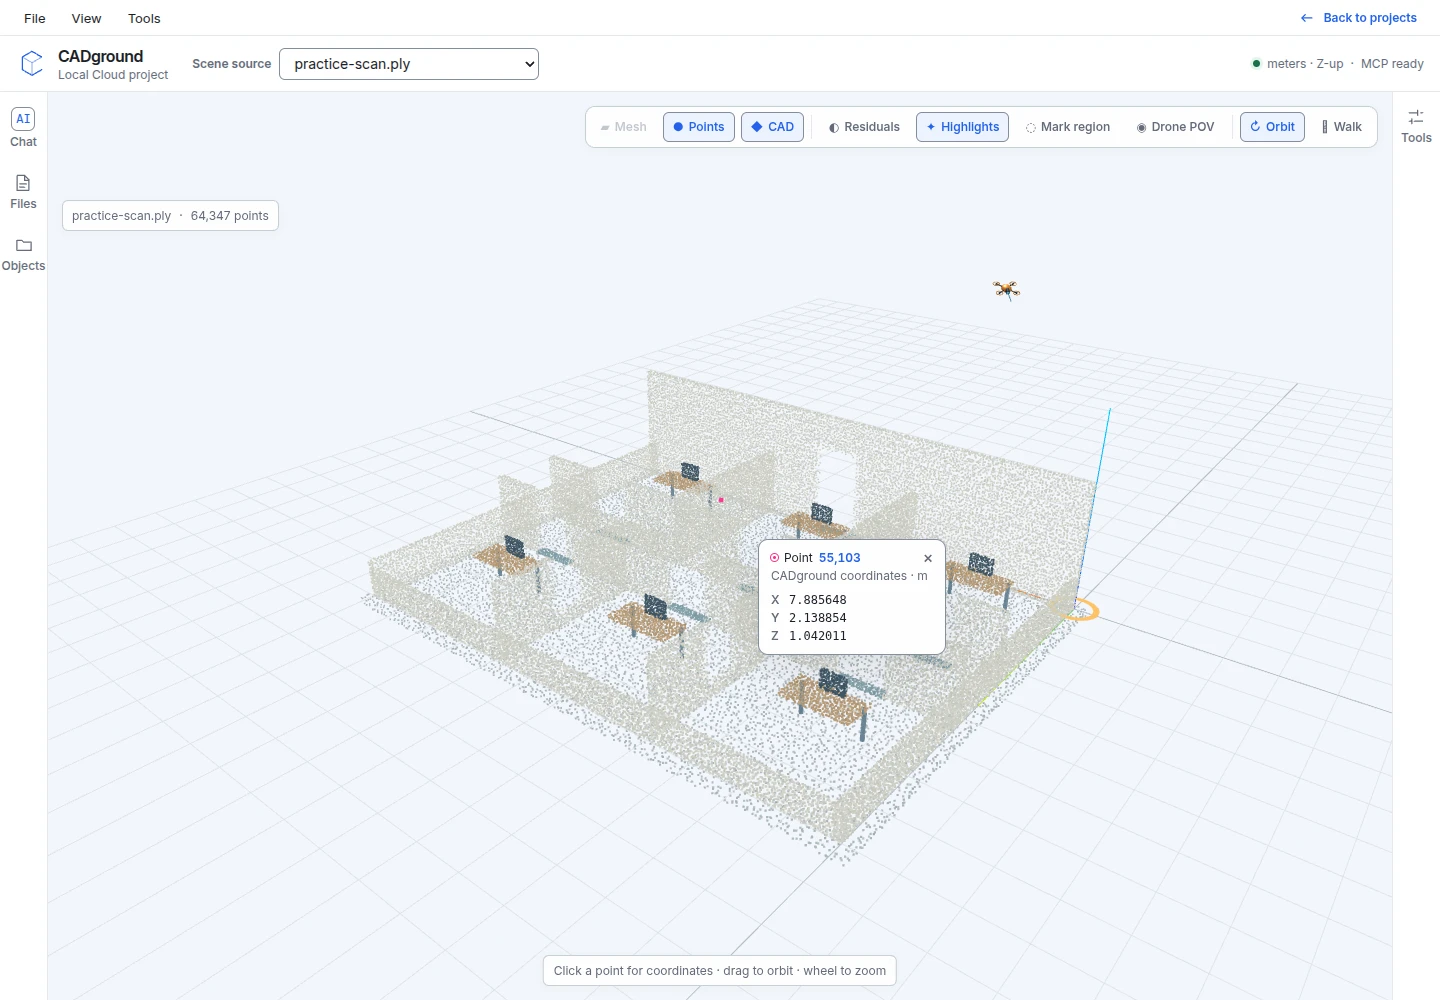
Before you start
Can I create a floor plan from a phone scan?
Yes, if the capture app exports a supported point cloud or mesh. Check that the scan covers the relevant walls and openings, and verify a known dimension. The capture guide explains preparation and export.
Is this the same as vectorizing a floor-plan image?
A point-cloud workflow starts with 3D positions and chooses a plan section or projection. Vectorizing a drawing image starts with pixels. You can supply an existing plan as a reference, but tell the agent which source defines the current geometry.
Can I download the result as DWG or DXF?
There is no built-in native DWG or DXF export. Ask for a generated SVG or PDF drawing and review it in Files. Use your drafting application for the final drawing format and verify any converted dimensions.
Can I use the plan for evacuation diagrams?
Use it as a reviewed base layout. Add the site’s confirmed routes, exits, symbols and display orientation through your evacuation-plan process. See the fire-safety workflow for the full sequence.
How do I handle missing rooms or hidden wall sections?
Mark them as unresolved and supply another scan, photo or checked drawing. The office example deliberately includes missing wall patches so you can practise keeping uncertainty visible.
Start with the floor you need to draw.
Bring your scan, or try the downloadable office example.